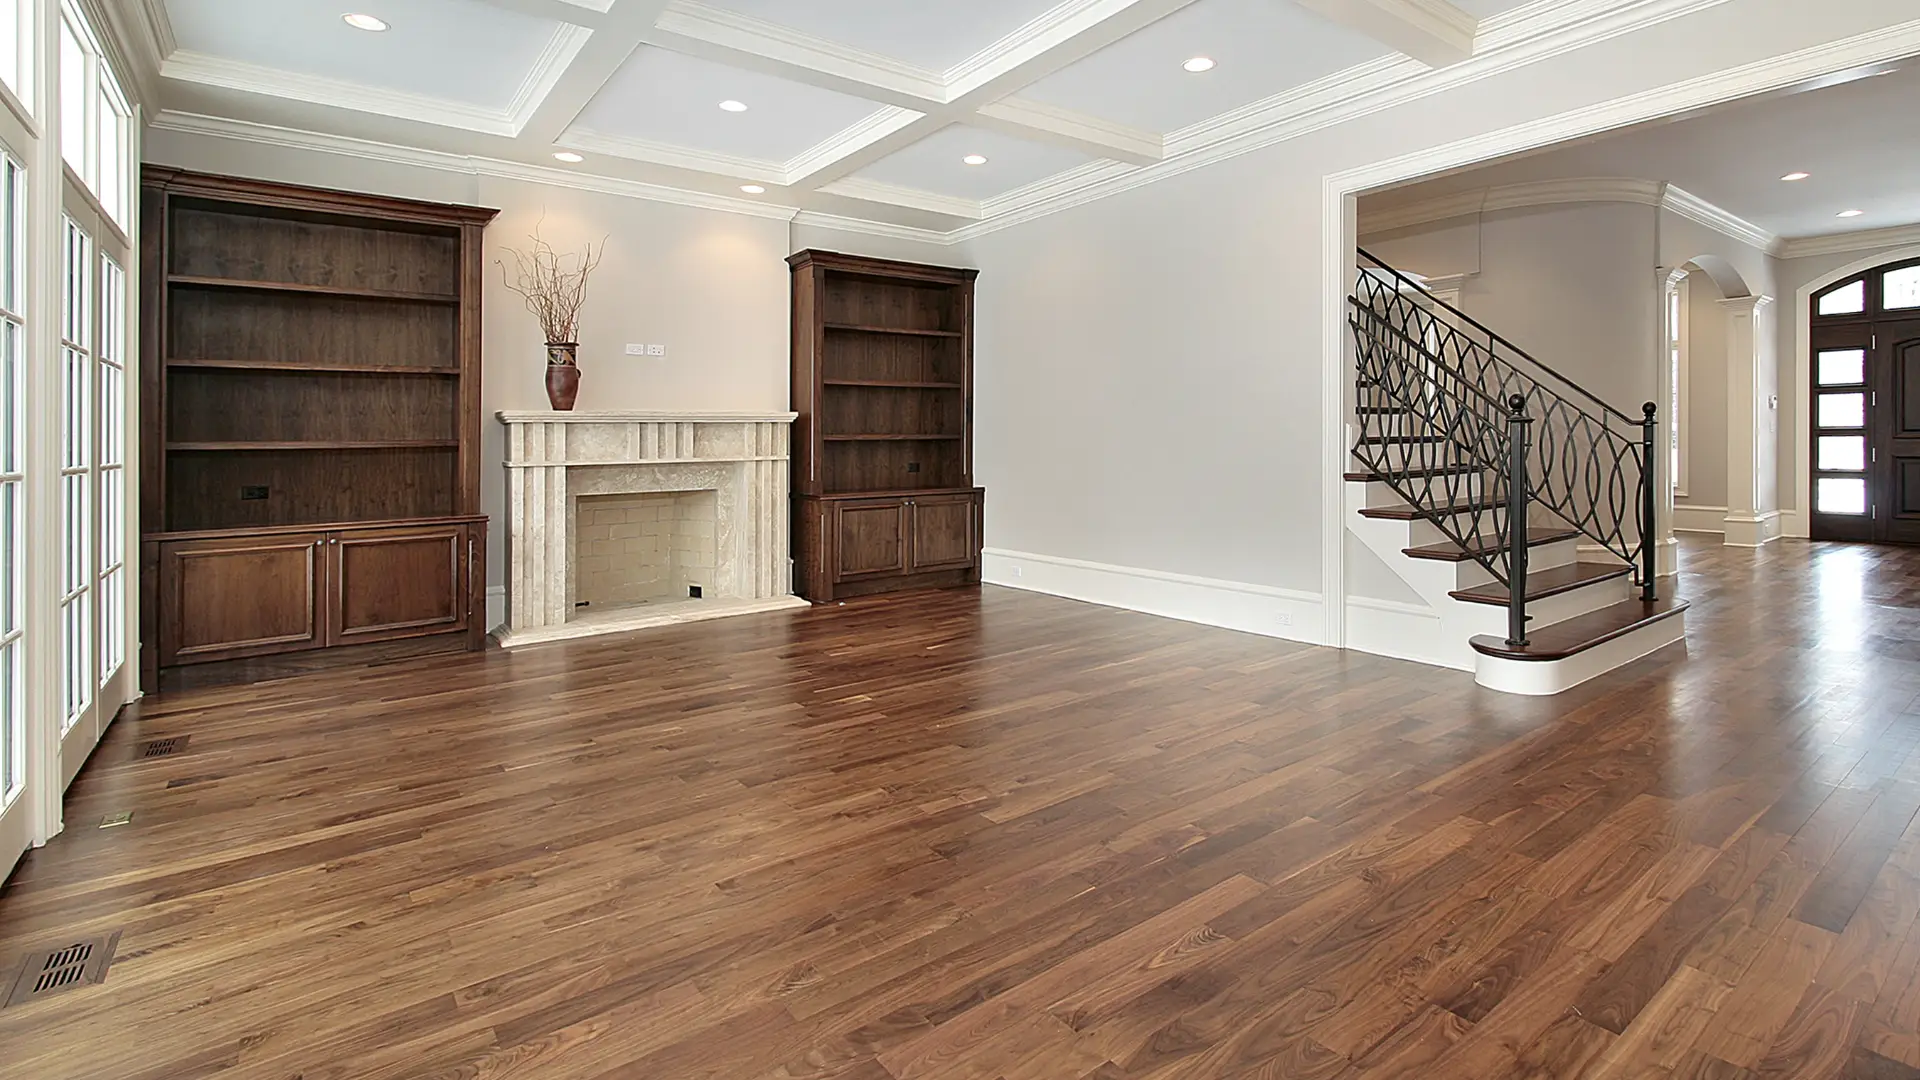
Hardwood Flooring Refinishing
Scratched, dull, worn through to bare wood in the traffic lanes — doesn’t mean the floor is done. Rainwood Construction sands, stains, and refinishes hardwood floors back to solid condition.
We respond within 24 hours
What Decides Whether a Refinish Works or a Replacement Is Needed
B
Solid 3/4” hardwood can be sanded and refinished 5–7 times over its life. That’s decades of use before replacement enters the conversation. Engineered hardwood depends on the veneer — 2mm veneer gets one careful sand, 4mm gets two or three. Anything thinner is a screen-and-recoat only.
The floor’s condition determines the scope. Surface scratches and dull finish: screen and recoat — no heavy sanding, just scuff the old finish and apply fresh coats. Worn-through finish, grey wood, pet stains, deep scratches: full sand-and-refinish. Water damage, cupping, or missing boards: repair first, then refinish. Refinishing hardwood flooring without fixing the underlying damage just locks problems under a fresh coat.
We check the wear layer, board condition, and moisture levels before recommending the scope. Sometimes a recoat saves $3,000. Sometimes a full sand is the only option that lasts.
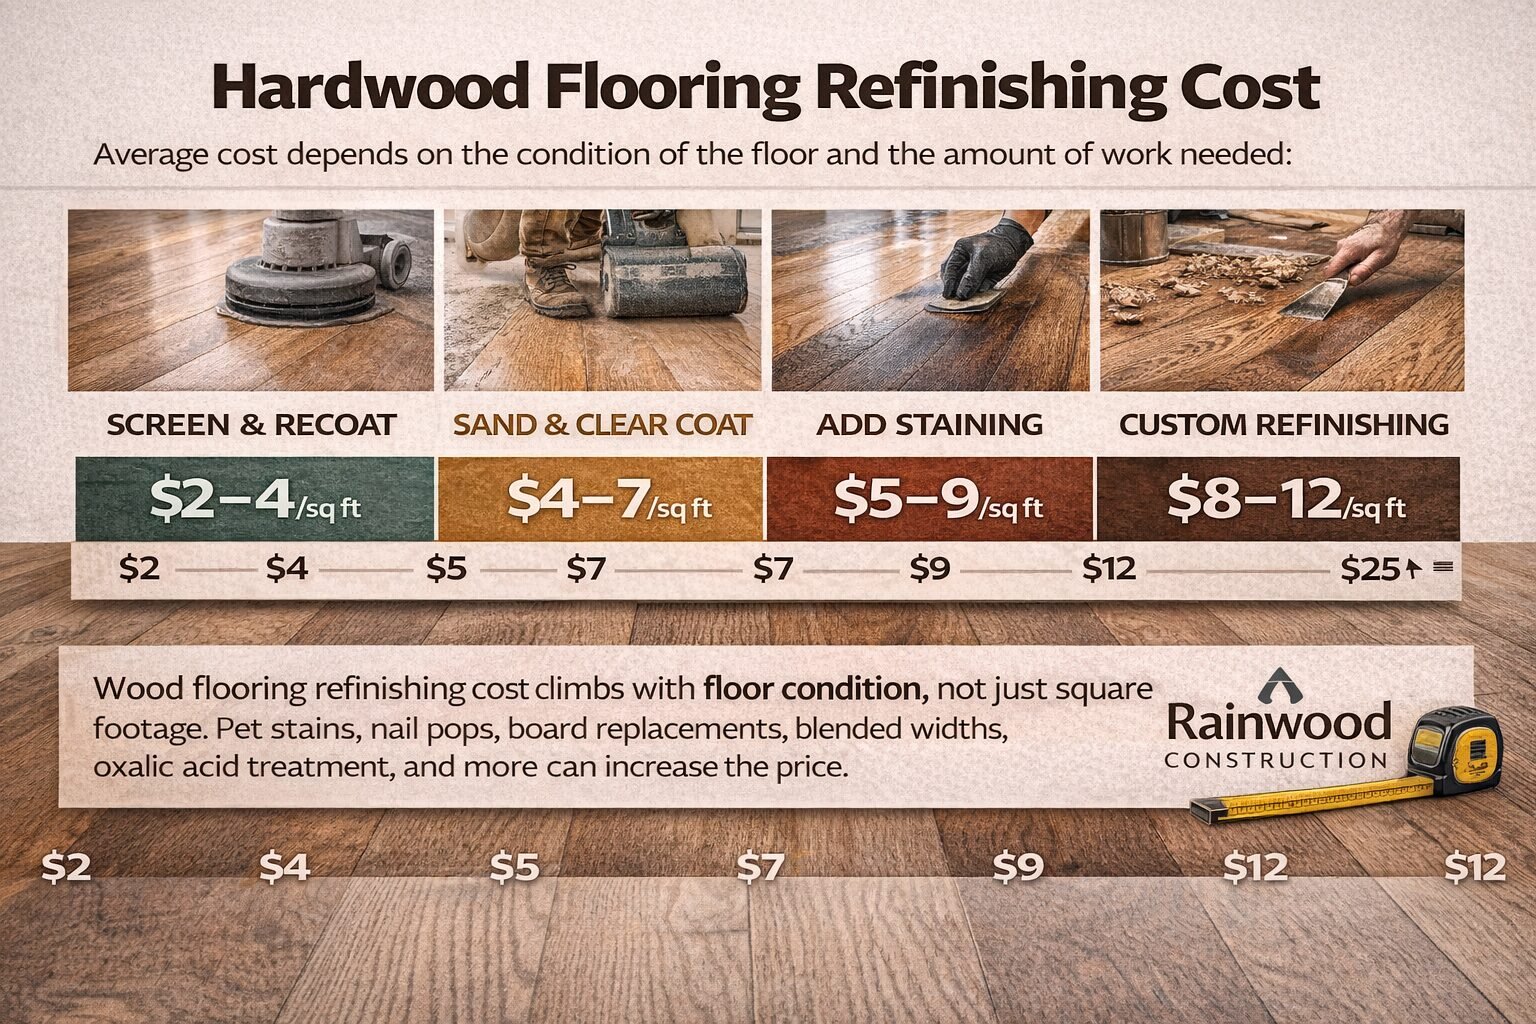
Hardwood Flooring Refinishing Cost
Screen and recoat: $2–4/sq ft. Full hardwood flooring sanding and refinishing with clear coat: $4–7/sq ft. Add stain color change: $5–9/sq ft. Custom hardwood flooring refinishing — hand-scraped distressing, mixed-width stain work, or hardwax oil finish — runs $8–12/sq ft.
Wood flooring refinishing cost climbs with floor condition, not just square footage. Nail pops need countersinking before the drum hits them. Board replacements add material and blend work. Pet stains may need oxalic acid treatment or board removal. Rainwood Construction quotes on-site — we need to see the floor, not just the room dimensions.
OUR FLOORING SERVICES
What Rainwood Construction covers for hardwood flooring refinishing projects.
Full Sand & Refinish
Drum sander for stock removal (36 → 60 grit), orbital for final passes (80 → 100), edger on the perimeter, detail sander in corners and closets. Never skip a grit — 36 to 100 leaves drum marks visible under stain. Three coats of finish minimum on traffic areas, inter-coat screen between each. Dustless containment system on every job.
Hardwood Flooring Staining & Refinishing
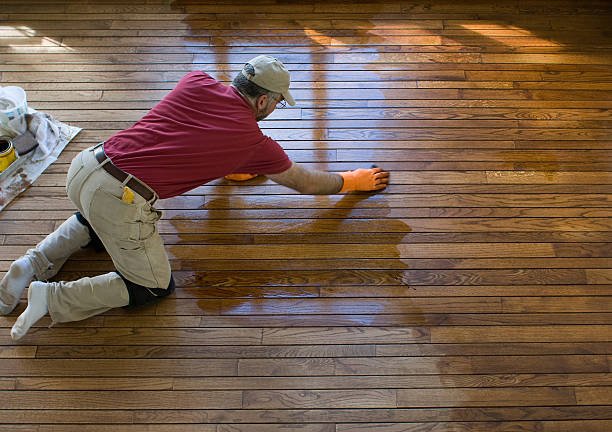
Color change or enhancement after sanding. Water-based stain dries faster and keeps the wood’s natural tone. Oil-based stain penetrates deeper, ambers slightly over time. We apply test patches on the actual floor — stain reads differently on oak than on maple, and differently across grain patterns within the same species.
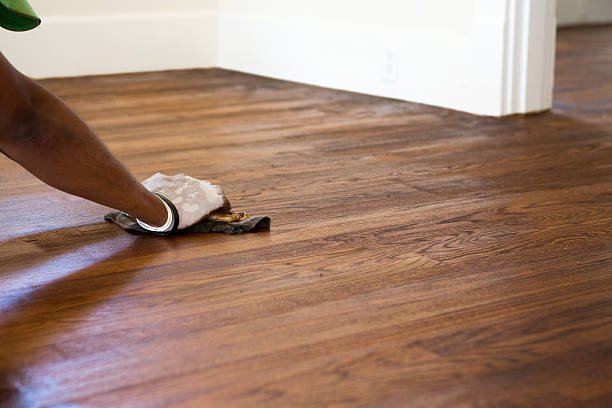
Screen & Recoat
For floors with intact finish that’s just dull or lightly scratched. We abrade the existing finish with a buffer and screen (120–150 grit), clean, and apply two fresh coats of polyurethane. No heavy sanding, no stain change. Half the cost of a full refinish, done in a day.
Hardwood Flooring Repair & Refinishing
Board replacement, gap filling, stair tread repair — then sand and finish the whole floor so the patches disappear. Hardwood flooring repair and refinishing in one scope means the repairs get sanded flush with the field. Separate trades doing repair then refinish never blend as well.
Finish Options
Water-based polyurethane: low VOC, dries clear, 3–4 coats in a day. Oil-based: richer depth, slight amber, 24 hours between coats. Hardwax oil: matte, natural feel, spot-repairable without resanding. Each finish changes the look and maintenance cycle — we discuss trade-offs on-site.
Rainwood also offers interior renovations. Contact us to discuss your project.
See Our Work in Action
Watch how we transform homes with quality siding installation.
COMMON PROBLEMS WE FIX
Hardwood floor issues we see on refinishing calls.
WHY CHOOSE RAINWOOD CONSTRUCTION?
Hardwood flooring refinishing contractors who skip grit steps or rush coats leave marks you’ll see every day. Rainwood Construction follows the sanding sequence, respects cure times, and contains the dust.
- Full grit progression on every job — no skipping from 36 to 100
- Dustless containment — sealed room, HEPA vacuum on every sander
- Three coats minimum on traffic areas, inter-coat abrasion between each
- Stain samples on the actual floor before committing to color
10+
Years Experience
Great people. Showed up early and stayed late to get the job done. Work was excellent. Price was the best i found after four quotes. Would definitely use this company again.

We hired Rainwood Construction LLC to replace our French doors, and the result was outstanding. We knew going in this was more involved than a standard swap — we switched from inward to outward swinging doors, requiring extra attention to framing, flashing, and weatherproofing to keep everything sealed against water intrusion.Anatoliy was our point of contact and led the project from before to after, making sure the swing change and weatherproofing were planned and executed correctly. Igor and Vitaly handled the on-site installation and did excellent, high-quality work. The whole team was on time, professional, and delivered top-notch results. Can’t recommend them highly enough. 5 stars!

Every member of this crew I've had the pleasure of coming in contact with has been professional, excellent in their skillset, and fast. Pricing was reasonable for the excellent job they did.Last year we hired Rainwood to do plumbing and painting for a job. Both crews did such a great job, were thorough, and the level of detail was fantastic!We liked them so much we recently hired them for a quick job (installing ceiling fans). We messaged on a Wednesday and the job was done by Friday.Will absolutely hire Rainwood again and again for every job we do for our home.

Working with Rainwood Constructions on our house remodel was an excellent experience from start to finish. Their contractors were highly professional, skilled, and attentive to detail, and the quality of their work exceeded our expectations. The team communicated clearly throughout the project and ensured everything was completed on time without compromising quality. We’re extremely happy with the results and would highly recommend them to anyone planning a home remodel.

We had a very good experience with Rainwood Construction LLC and Toli during my brother’s home construction project in Shoreline. The team was professional, communicative, and paid close attention to detail throughout the process. We were especially happy with the quality of the fittings and finishing work, which turned out really well. The project was handled smoothly, and the overall workmanship met our expectations. Would definitely recommend them to others looking for reliable construction services.

We had an excellent experience with them on our sunroom project. The quality of the work was outstanding, they were easy to work with, and they clearly explained each step, the schedule, and key decisions (with various options to help us understand cost) along the way. Communication was solid from start to finish, and the final result looks great. Highly recommend, they are my new go to recommendation when friends ask.

Our Simple Process
From first contact to final walkthrough, we make siding projects straightforward and stress-free.
Request a Quote
Call or fill out the form. Tell us what's in the bathroom now and what you want — floor only, shower retile, full bathroom tile from floor to ceiling.
On-Site Assessment
We check substrate condition, measure the space, identify moisture issues or structural concerns, and discuss tile selection and layout options. Written scope with photos.
Clear Scope & Schedule
Tile spec, layout drawing, waterproofing plan, substrate prep scope, fixture coordination, line-item pricing, timeline. Most bathroom tile projects run 5–10 working days.
Installation & Finish
Demo if needed, substrate prep, waterproofing, tile setting, grouting, sealing, fixture trim-out, cleanup. Walkthrough before closeout.
Ready to Get Started?
Contact us today for a free on-site assessment. We’re here to help protect your home.
Call us now
425-750-1025
Email us
Anatoliy@rainwoodconstruction.com
Visit us
12310 Hwy 99, Everett, WA 98204
Hours
Mon-Fri 9:00 am–6:00 pm, Sat 11:00 am–5:00 pm, Sun Closed
FAQ
Bathroom ceramic tile installation on floors runs $8–$15 per square foot for standard porcelain or ceramic in a grid or offset pattern. Shower walls run $15–$30/sq ft because of waterproofing, vertical setting, and fixture cuts. Natural stone and large-format tiles add $3–$8/sq ft over standard porcelain. These numbers include material and labor but not substrate repair or demolition of existing tile — those are separate line items that depend on what’s behind the old surface.
Technically possible on floors if the existing tile is fully bonded (no hollow spots), level, and the added height doesn’t create a trip hazard at the door threshold. In practice, we recommend against it in showers. The waterproofing layer needs to bond directly to the substrate, and you can’t verify what’s behind old shower tile without removing it. A tile-over-tile shower is a gamble on someone else’s waterproofing — and if that fails, you’re tearing out two layers instead of one.
A floor-only retile in a standard bathroom: 2–3 days including substrate prep and grout cure. A full shower tear-out and retile: 5–7 days — one day for demo, one for waterproofing and flood test, two to three for tile setting, one for grout and seal. A complete bathroom — floor, shower, wainscot, and tub surround: 7–10 working days. Thinset and grout need cure time between stages, and rushing that leads to failures that show up months later.
Floor tile in a powder room or half-bath without a shower — that’s a reasonable DIY project if you’re comfortable with a wet saw and thinset. Anything in a shower or tub surround — no. The waterproofing is too critical and too easy to get wrong. A failed DIY shower membrane doesn’t just mean retiling; it means structural repair to the framing behind it. The cost of bathroom tile installation done right the first time is always less than the cost of fixing a leak two years later.