LVP Flooring Installation in Everett
Wood-look planks, waterproof core, click-lock assembly — but the subfloor still has to be flat or you’ll see every flaw through it. Rainwood Construction handles LVP flooring installation in Everett with the prep that makes the material last.
We respond within 24 hours
Why LVP Fails — and It’s Never the Plank
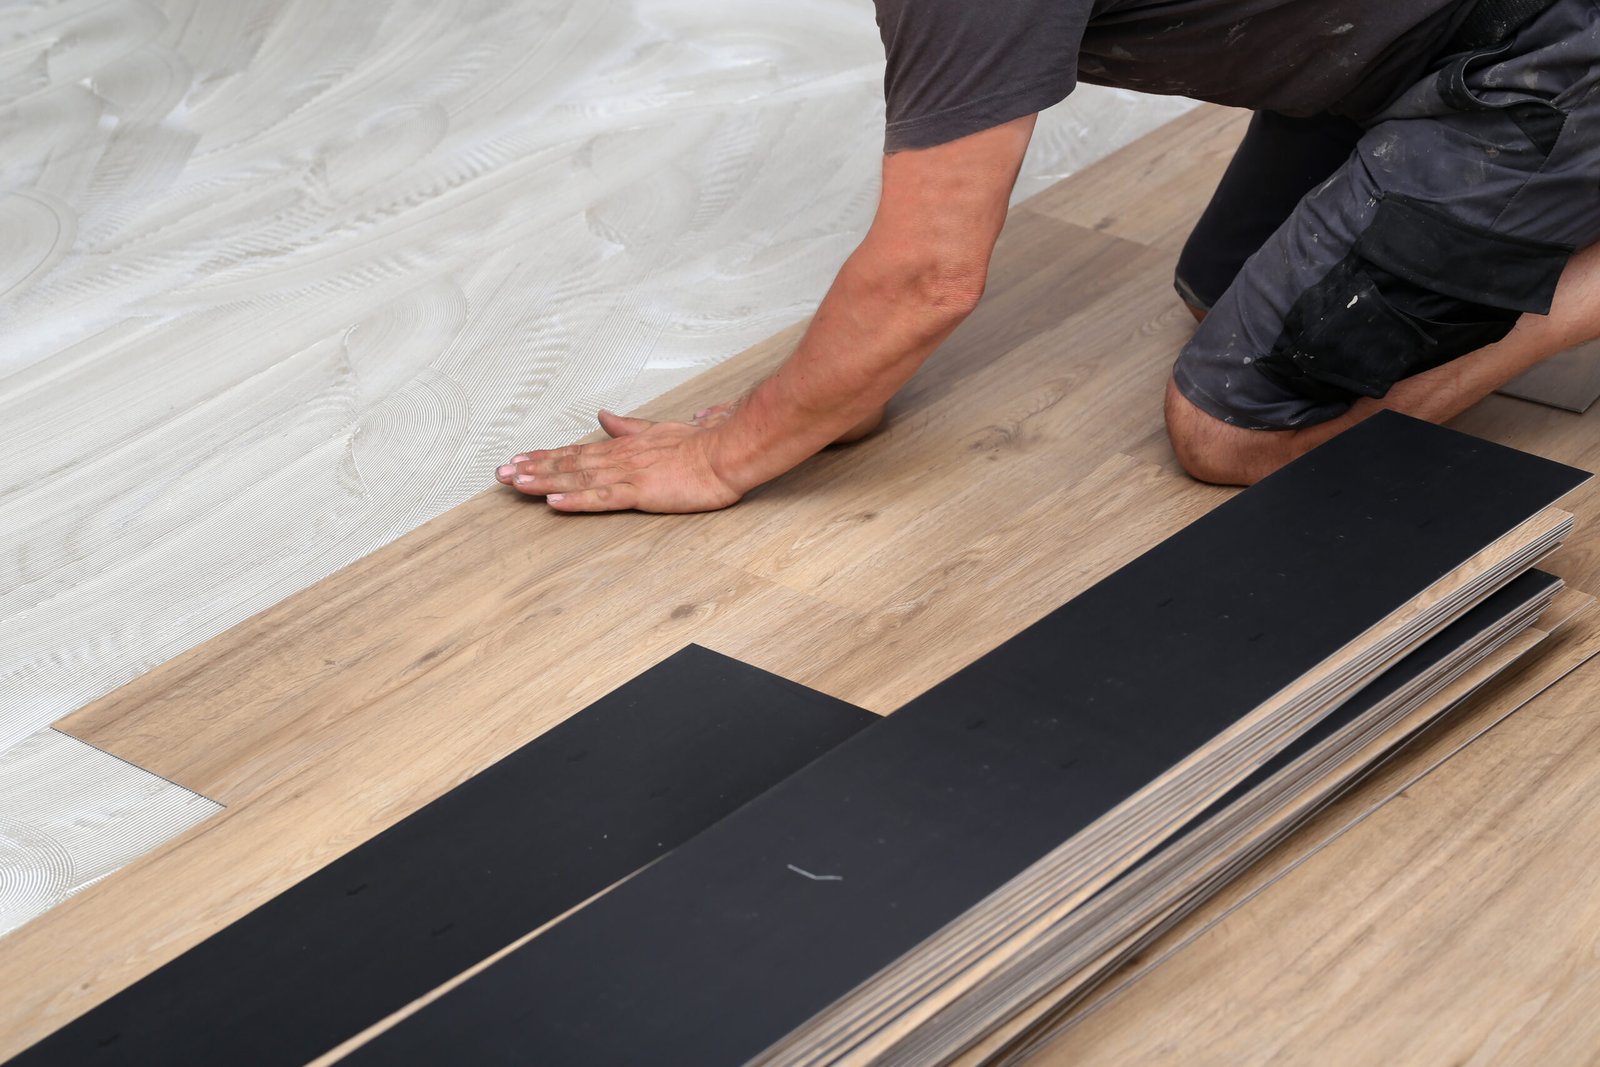
LVP is a rigid-core vinyl plank — SPC (stone polymer composite, harder, better for high traffic) or WPC (wood polymer composite, softer underfoot) — with a printed wear layer and a click-lock edge. Waterproof, dimensionally stable, handles kitchens, bathrooms, basements, and entries without swelling. It’s the fastest-growing flooring category for a reason.
But LVP is 5–8mm thick. It floats over the subfloor without fasteners. That means it conforms to whatever is underneath. Screw pops in the plywood show as bumps. Dips in concrete create hollow spots where the click joint flexes and eventually separates. Old adhesive residue from removed flooring creates ridges visible within a week.
Installing LVP flooring in Everett is fast once the subfloor is ready. Getting the subfloor ready is the actual job.
Cost to Install LVP Flooring
Cost to install LVP flooring in Everett runs $6–13/sq ft. Material: $2–6/sq ft depending on wear layer thickness (12mil budget, 20mil standard, 28mil+ commercial). Labor and prep make up the rest. Clean plywood subfloor: $6–9 installed. Concrete slab needing leveling compound: $9–13.
A 300 sq ft living room over flat plywood: $2,200–3,200. Open-plan main floor (800 sq ft) with transitions to tile in the kitchen and carpet in the bedrooms: $6,000–10,000. The transitions and subfloor prep are where estimates diverge — not the plank itself. Rainwood Construction quotes on-site after checking flatness and moisture.
OUR FLOORING SERVICES IN EVERETT
What Rainwood Construction covers for LVP flooring installation in Everett projects.
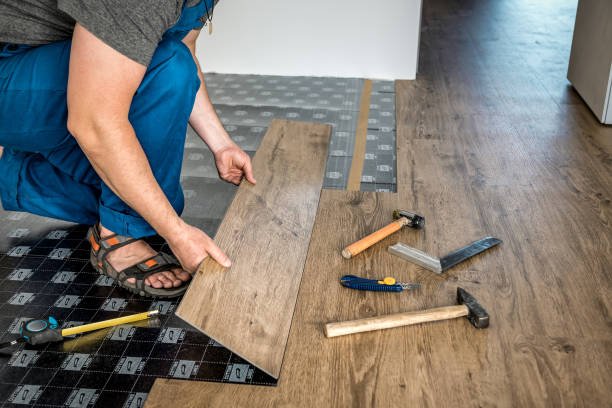
LVP Click-Lock Installation
Floating rigid-core planks over underlayment. The standard LVP flooring install method. Subfloor flatness first: 3/16” tolerance over 10 feet. We self-level concrete and sand or patch plywood to tolerance. Planks racked across the full room before locking — balanced layout, staggered joints minimum 6” offset, no short pieces against visible walls. 1/4” expansion gap at every perimeter.
LVP Installation on Concrete
Installing LVP flooring in Everett on concrete requires moisture testing before anything else. Calcium chloride test or relative humidity probe — over 5 lbs/1,000 sq ft or 80% RH means moisture mitigation first. 6-mil poly vapor barrier minimum. Self-leveling compound on uneven slabs. Most basement and slab-on-grade installs fall here.
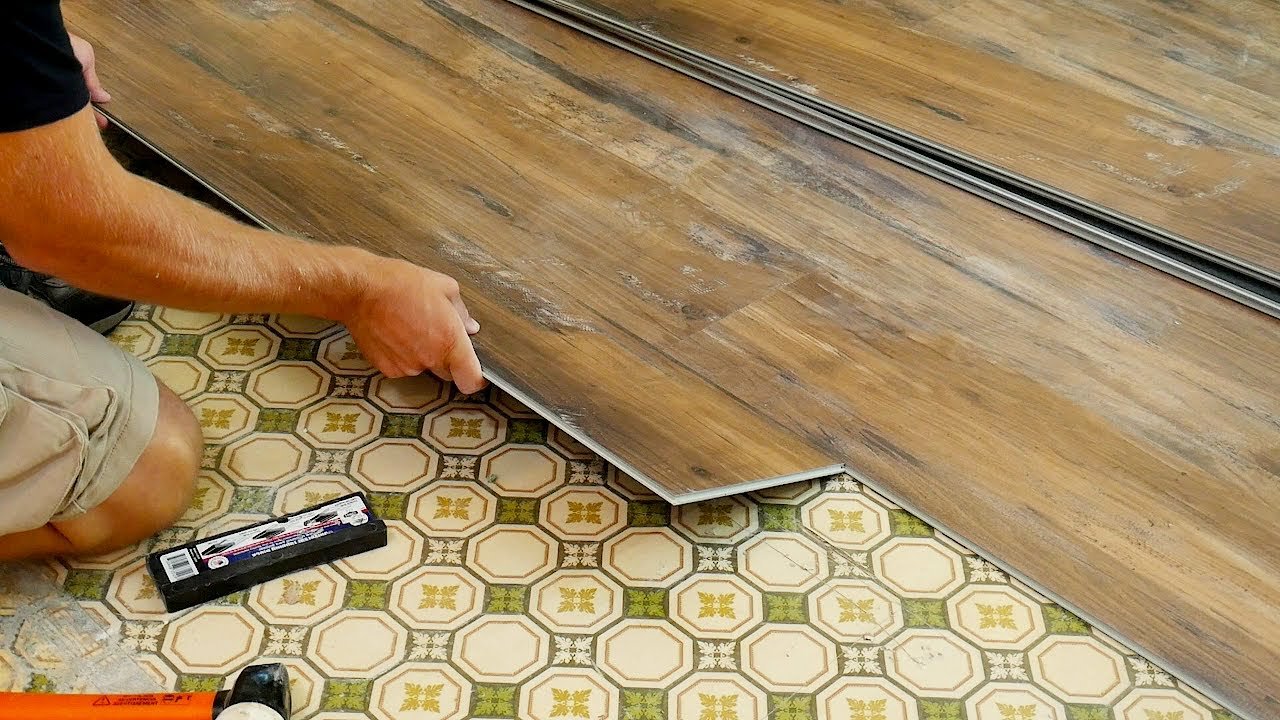
LVP Over Existing Flooring
LVP can float over vinyl, hardwood, or tile if the surface is flat, well-bonded, and clean. Over carpet: never — carpet isn’t rigid, click joints fail without solid support. Over old vinyl with adhesive residue: depends on how flat it is after scraping. We assess each surface individually.
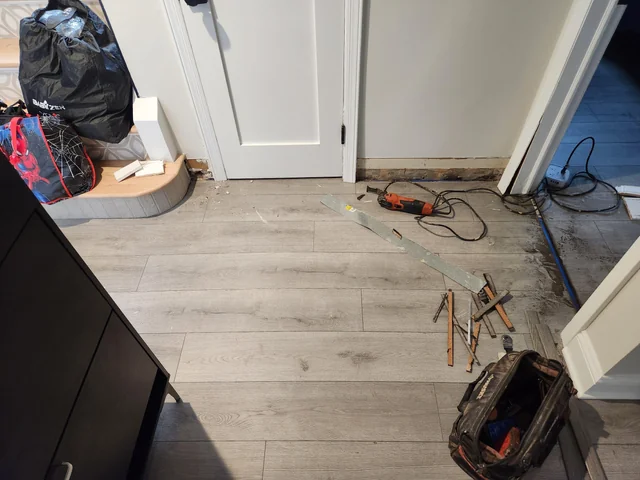
LVP Flooring Removal & Replacement
Removing LVP flooring is straightforward — click-lock lifts out, glue-down requires scraping. The question is what’s underneath. Old adhesive, damaged underlayment, moisture staining — all need addressing before new material goes down. We demo, assess, prep, then install. Not demo and hope.
Transitions & Trim
T-molding between LVP and tile, reducers stepping down to carpet or lower-profile flooring, flush stairnose at top of stairs, quarter-round at baseboards. Every room connects to another room — transitions done wrong look cheap and catch feet. We match the transition profile to the height difference and secure it properly.
Rainwood also offers interior renovations. Contact us to discuss your project.
COMMON PROBLEMS WE FIX IN EVERETT
LVP flooring problems we see on renovation and repair calls.
Why Choose Rainwood as Your Everett Flooring Contractor
LVP clicks together fast. That’s the appeal and the risk — fast install tempts skipping prep. Rainwood Construction spends the time on the subfloor so the floor above it stays flat and tight.
- Flatness checked and corrected to 3/16” over 10 feet before any plank goes down
- Moisture tested on every concrete slab — no exceptions
- Full room racked before locking — staggered joints, balanced layout, no short ends at walls
- Transitions spec’d to the actual height difference — not whatever profile is on the truck
10+
Years Experience
Great people. Showed up early and stayed late to get the job done. Work was excellent. Price was the best i found after four quotes. Would definitely use this company again.

We hired Rainwood Construction LLC to replace our French doors, and the result was outstanding. We knew going in this was more involved than a standard swap — we switched from inward to outward swinging doors, requiring extra attention to framing, flashing, and weatherproofing to keep everything sealed against water intrusion.Anatoliy was our point of contact and led the project from before to after, making sure the swing change and weatherproofing were planned and executed correctly. Igor and Vitaly handled the on-site installation and did excellent, high-quality work. The whole team was on time, professional, and delivered top-notch results. Can’t recommend them highly enough. 5 stars!

Every member of this crew I've had the pleasure of coming in contact with has been professional, excellent in their skillset, and fast. Pricing was reasonable for the excellent job they did.Last year we hired Rainwood to do plumbing and painting for a job. Both crews did such a great job, were thorough, and the level of detail was fantastic!We liked them so much we recently hired them for a quick job (installing ceiling fans). We messaged on a Wednesday and the job was done by Friday.Will absolutely hire Rainwood again and again for every job we do for our home.

Working with Rainwood Constructions on our house remodel was an excellent experience from start to finish. Their contractors were highly professional, skilled, and attentive to detail, and the quality of their work exceeded our expectations. The team communicated clearly throughout the project and ensured everything was completed on time without compromising quality. We’re extremely happy with the results and would highly recommend them to anyone planning a home remodel.

We had a very good experience with Rainwood Construction LLC and Toli during my brother’s home construction project in Shoreline. The team was professional, communicative, and paid close attention to detail throughout the process. We were especially happy with the quality of the fittings and finishing work, which turned out really well. The project was handled smoothly, and the overall workmanship met our expectations. Would definitely recommend them to others looking for reliable construction services.

We had an excellent experience with them on our sunroom project. The quality of the work was outstanding, they were easy to work with, and they clearly explained each step, the schedule, and key decisions (with various options to help us understand cost) along the way. Communication was solid from start to finish, and the final result looks great. Highly recommend, they are my new go to recommendation when friends ask.

Our Simple Process
From first contact to final walkthrough, we make siding projects straightforward and stress-free.
Request a Quote
Call or use the form. Tell us what's on the house, roughly when it was built, and what's going on — dents, chalking, water issues.
On-Site Assessment
Moisture meter, visual inspection, probing at windows and transitions. Written report — yours to keep.
Clear Scope & Schedule
Panel gauge, profile, color, trim details, labor breakdown. Most aluminum re-sides run 5–9 working days.
Quality Installation
Tear-off (or overlay if applicable), wall prep, WRB, flashing, panels, trim, cleanup. Walkthrough before closeout.
Ready to Get Started?
Contact us today for a free on-site assessment. We’re here to help protect your home.
Call us now
425-750-1025
Email us
Anatoliy@rainwoodconstruction.com
Visit us
12310 Hwy 99, Everett, WA 98204
Hours
Mon-Fri 9:00 am–6:00 pm, Sat 11:00 am–5:00 pm, Sun Closed
FAQ
The material lasts 40–50 years. What fails is the factory finish — chalking and fading after 15–20 years on sun-exposed elevations. Panels can be repainted with bonding primer and acrylic topcoat for another 10–15 years. Structurally, aluminum outlasts most siding on the market.
For specific applications — yes. Fire rating, salt air resistance, and longevity make it right for coastal homes, wildfire zones, and mid-century restorations. For a typical suburban re-side, fiber cement or vinyl usually makes more sense on cost and curb appeal.
Over flat surfaces with solid sheathing — yes, with furring strips for a true plane. We don’t overlay if there’s any sign of moisture damage underneath. Trapping water behind a new layer is the most expensive mistake in siding.
Standard 0.019″ gauge dents from direct impact — hail, ladders, a kicked soccer ball. Heavier 0.024″ is noticeably more resistant. Foam-backed panels hold up better since the backer supports the face. For high-traffic areas or hail zones, we recommend 0.024″ with insulated backing.